Premium
$124.99
- 25 Premium Project Files
- New Premium E-Book for Artists
- Access to our private Slack Channel
- Personal guidance from our Support Crew
Please read our new Terms & Conditions policy.
Getting Started
Tippy.js is super easy to use and you can get started in just a few steps.
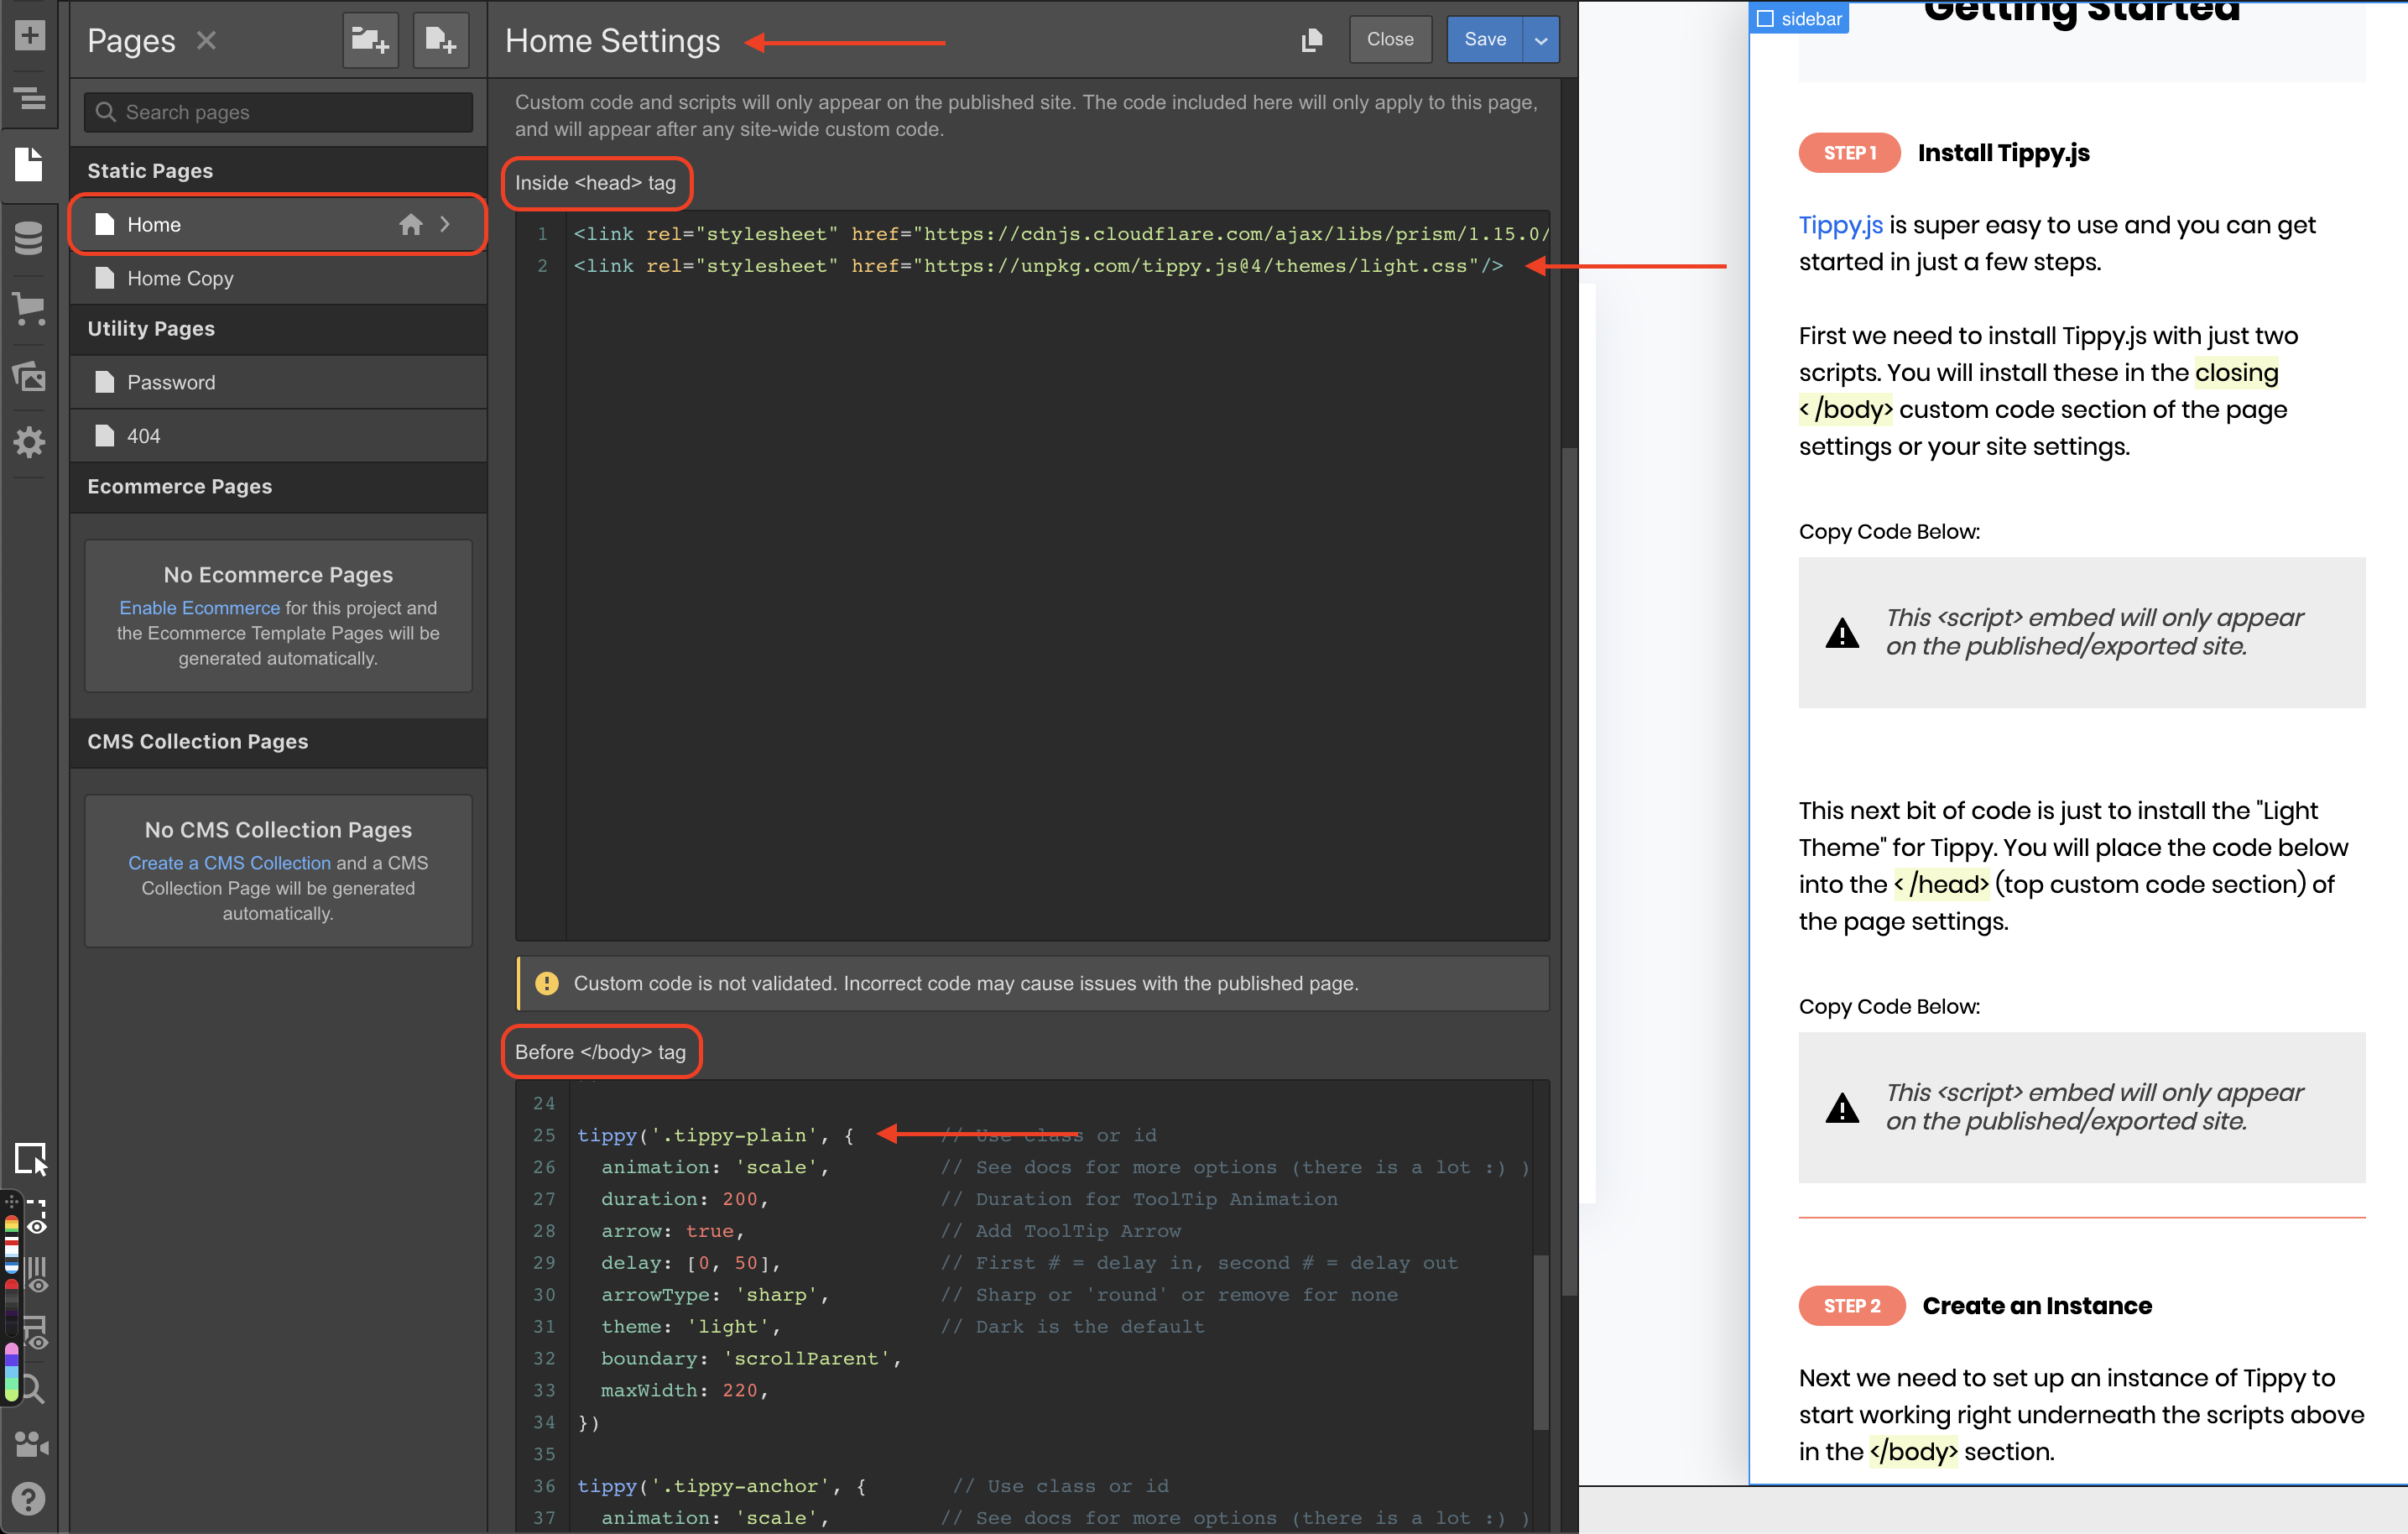
First we need to install Tippy.js with just two scripts. You will install these in the closing < /body> custom code section of the page settings or your site settings.
<!--These Loads Scripts-->
<script src="https://unpkg.com/popper.js@1"></script>
<script src="https://unpkg.com/tippy.js@4"></script>
This next bit of code is just to install the "Light Theme" for Tippy. You will place the code below into the < /head> (top custom code section) of the page settings.
<!--This Loads the Light Theme Style-->
<link rel="stylesheet" href="https://unpkg.com/tippy.js@4/themes/light.css"/>

Next we need to set up an instance of Tippy to start working right underneath the scripts above in the </body> section.
You can copy the code below to get started. It has the necessary parameters needed to have Tippy working nice and clean.
You will also notice comments for each parameter in the code so you know what they are controlling.
<!--Tippy JS Settings-->
<script>
tippy('.tippy', {             // Use class or id
  animation: 'scale',         // See docs for more options (there are a few nice ones 😉)
  duration: 200,              // Duration for ToolTip Animation
  arrow: true,                // Add ToolTip Arrow
  delay: [0, 50],             // First # = delay in, second # = delay out
  arrowType: 'sharp',         // Sharp or 'round' or remove for none
  theme: 'light',             // Dark is the default
  maxWidth: 220,              // Max width in pixels for the tooltip
})
</script>
So in the project I can highlight any text and wrap it in a <span> and then give that span the class of .tippy and the tooltip will show up.
You can give this class to any element too not just text or <span> elements.
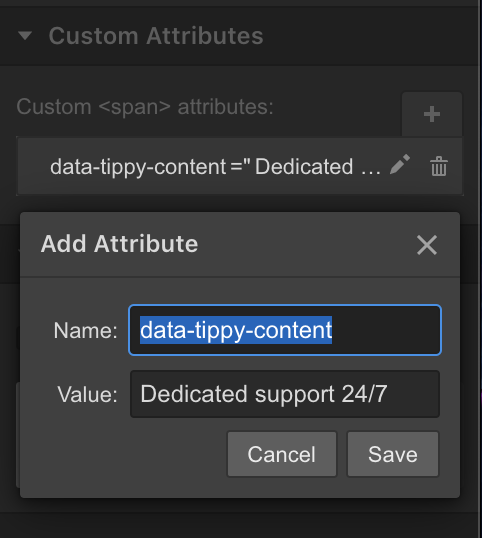
Simply go to the element settings in the toolbar in the designer and you'll see "Custom <div> attributes:".
Click the + icon to add a new attribute. Set its name to data-tippy-content.
Next, for the value you will type in whatever you want the tooltip to say. It's that simple and you're done!

Note: The cool thing about Tippy.js is it's only dependency is Popper.js which is just for the tooltip positioning which is really cool and other than that it is all vanilla JS.
Hope you dig! 😉